FORGOT YOUR DETAILS?

Oops...
Sorry, this Social Stream cannot be displayed.

UNFORTUNETLY THE LIGHT LAB WILL BE CLOSED UNTIL FURTHER NOTICE

Digital capture through photography, video, 2D and 3D scanning is available in the Light Lab. To make the most of reduced capacity in the room, and to ensure machines are available for you when you need them, all these tools and spaces are now also bookable below.

2D SCANNING

2D scanning is available in the Light Lab. To make the most of reduced capacity in the room, and to ensure machines are available for you when you need them, all these tools and spaces are now also bookable below.

3D SCANNING

3D scanning is available in the Light Lab. To make the most of reduced capacity in the room, and to ensure machines are available for you when you need them, all these tools and spaces are now also bookable below.

1. Choose the scanner

01

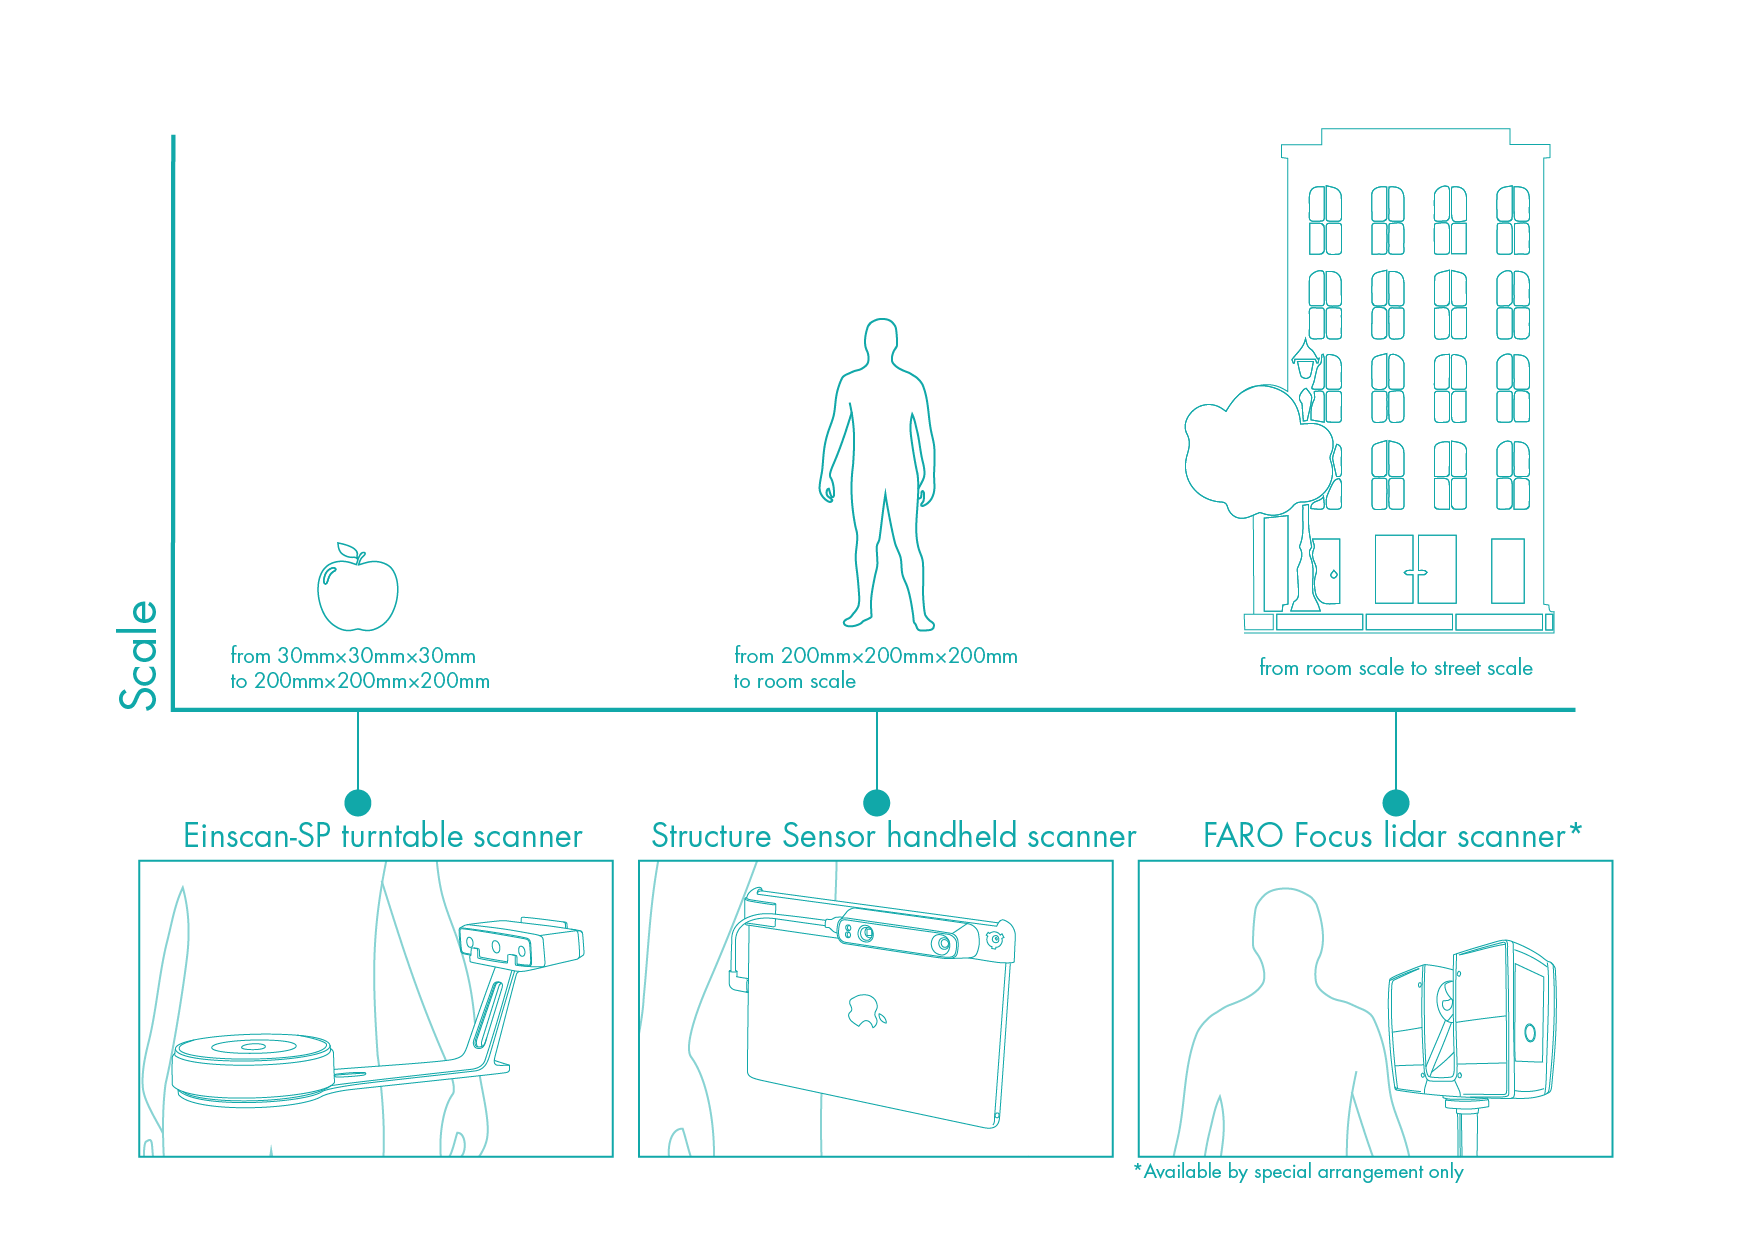
Choose the appropriate scanner for the size of your model. See the diagram below in EQUIPMENT.

2. Read the Quick Start Guide

02

It is useful to understand the limitations of the scanners before you start. You may need to make modifications to your object, for example painting any transparent part.

3. Get a Storage Device

03

You will need a USB memory stick or hard drive to copy your scan onto once completed.

4. Scan

04

Allow yourself enough time to achieve a quality scan. Keep in mind that you may need a couple of attempts to dial in your technique. Scans take approximately 1-5 minutes to complete, and 5-10 minutes to process (higher quality settings will take longer).

5. Process

05

Process your scan in Rhino...

QUICK START GUIDE

DOES NOT ACHIEVE GOOD RESULTS WITH:

  • Dark coloured or black objects. Consider coating in white paint, powder or masking tape.
  • Transparent, shiny or reflective objects. Coat with something opaque.
  • Fuzzy or hairy objects.
  • Hollow objects or objects with internal geometry, for example, an Eiffel Tower statuette or a lattice structure.
  • Do not place objects heavier than 4KG on the turntable or its motor will break.

ACHIEVE GOOD RESULTS WITH:

  • Making sure the object is stable on the turntable and does not wobble. This may require you to stick it down with putty.
  • Standing back from the scanner while it is scanning to make sure you do not knock the desk it is on, or cast a shadow on the scanning subject.
  • If you are attempting a colour scan, ambient light in the room may interfere. Turning off lights in the room will help.
  • Keep in mind that the scanner can only ‘see’ objects in its line of sight. If your object has overhangs that the scanner cannot scan underneath, it may help to tilt or reorient your object.

PROCESS

  1. Ensure the scanner is turned on (there should be a blue light underneath the turntable where the USB connects to it).
  2. Place your object in the centre of the turntable and fix it in position with putty if necessary.
  3. Follow the on-screen prompts to scan your object
  4. If you are happy with the preview of your scan, follow the on-screen prompts to convert your scan to a 3D mesh. Otherwise, adjust the settings and repeat the scan until happy with the result.
  • If your scan is ‘ghosting’ or duplicating parts of the object, you may need to calibrate the scanner. This happens when it has been knocked or moved. Close the software, reopen it, and then select “Calibrate” on the first screen. Follow the on-screen instructions. Ask a member of staff for the calibration plate.
  • When attempting a colour scan, if the colours are incorrect or washed out, it may be being affected by ambient light. Turn off the lights in the room and try again.

QUICK START GUIDE

DOES NOT ACHIEVE GOOD RESULTS WITH:

  • Moving subjects. If you are scanning a person, make sure they do not move or sway, as this will cause undesired results. Fixing their gaze on one spot in the distance will help.
  • Transparent, shiny or reflective objects. Coat with something opaque.
  • Fuzzy or hairy objects.
  • Hollow objects or objects with internal geometry, for example, an Eiffel Tower statuette or a lattice structure.

ACHIEVE GOOD RESULTS WITH:

  • Starting scanning from the back of the object, as the seam where the scan joins will be on the back of the model and not on the front.
  • Move the scanner slowly but steadily around your subject. Turn and tilt the scanner smoothly and do not make any jerky movements or the scanner will lose tracking orientation and you may have to start again.
  • Remember to capture the whole surface area of your subject. This may involve crouching to capture, for example, under a person’s arms. Or standing on a stool to capture the top of their head. (Be careful!)
  • You may go back over an area more than once if you feel it did not scan properly or you see gaps in the model on the live preview on the screen. Do not go over an area more than is necessary.
  • Hold the scanner approximately one metre away from the surface you are trying to scan at all times throughout the scanning process.

PROCESS

TBC

Please log in to book your equipment

PHOTOGRAPHY

There are two photography setups that can be booked. Both of these spaces are set up with suitable lighting for the space. To make the most of reduced capacity in the room, and to ensure machines are available for you when you need them, all these tools and spaces are now also bookable through the website.

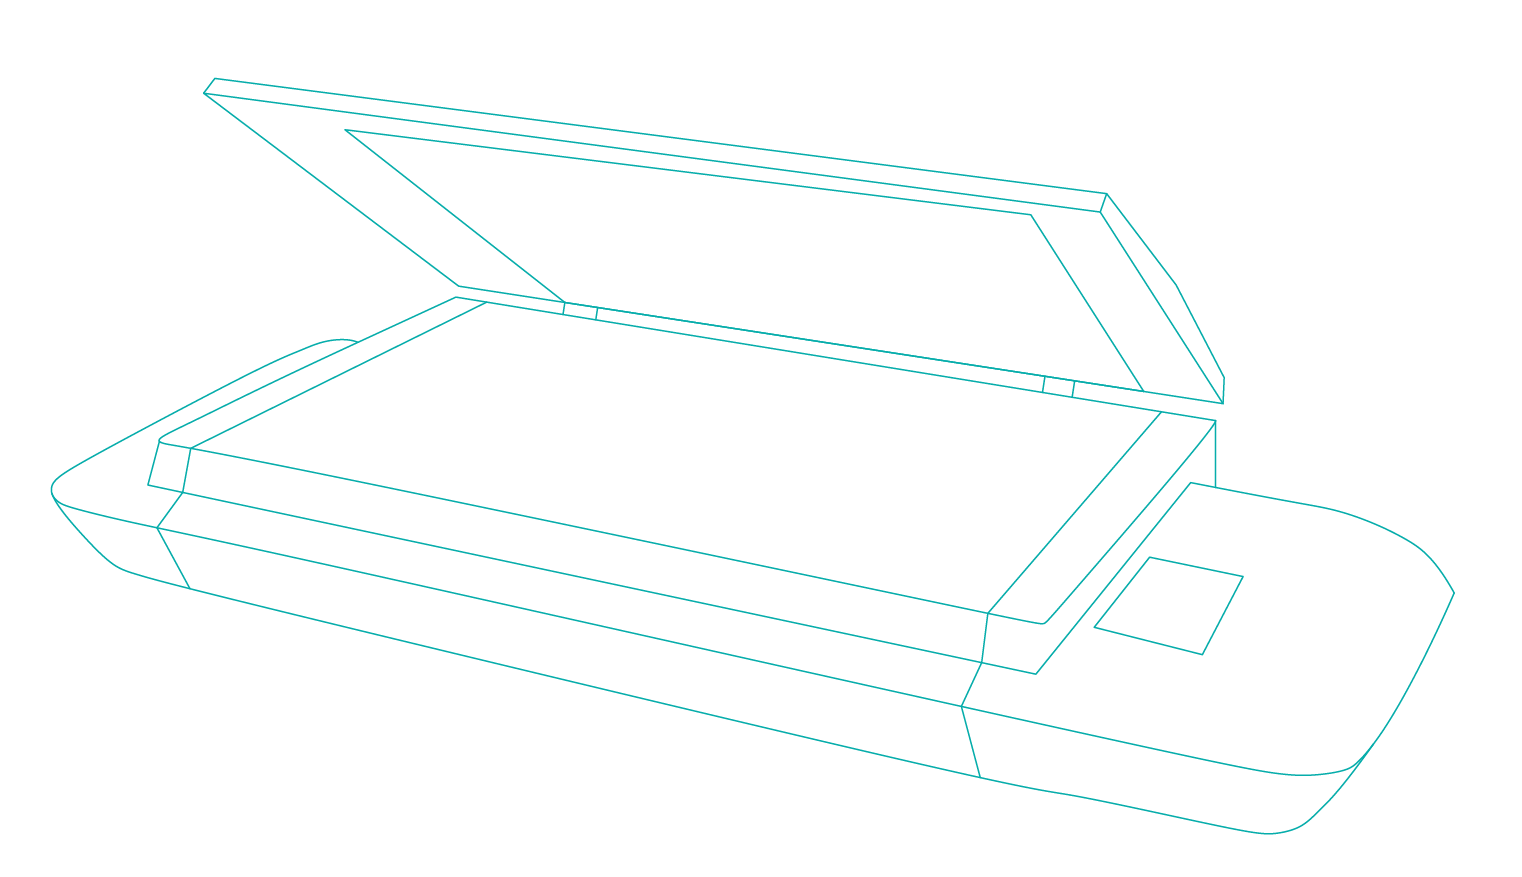
2D SCANNER

CONTEX HD IFLEX
MAX SIZE: A2 (420x594)

ADVANTAGES

Precise high resolution scanner.  Ideal for fragile originals, book scanning, textiles and artwork.

DISADVANTAGES

To scan larger than A2 the work has to be 'stitched' together in photoshop.

Please log in to book this equipment.

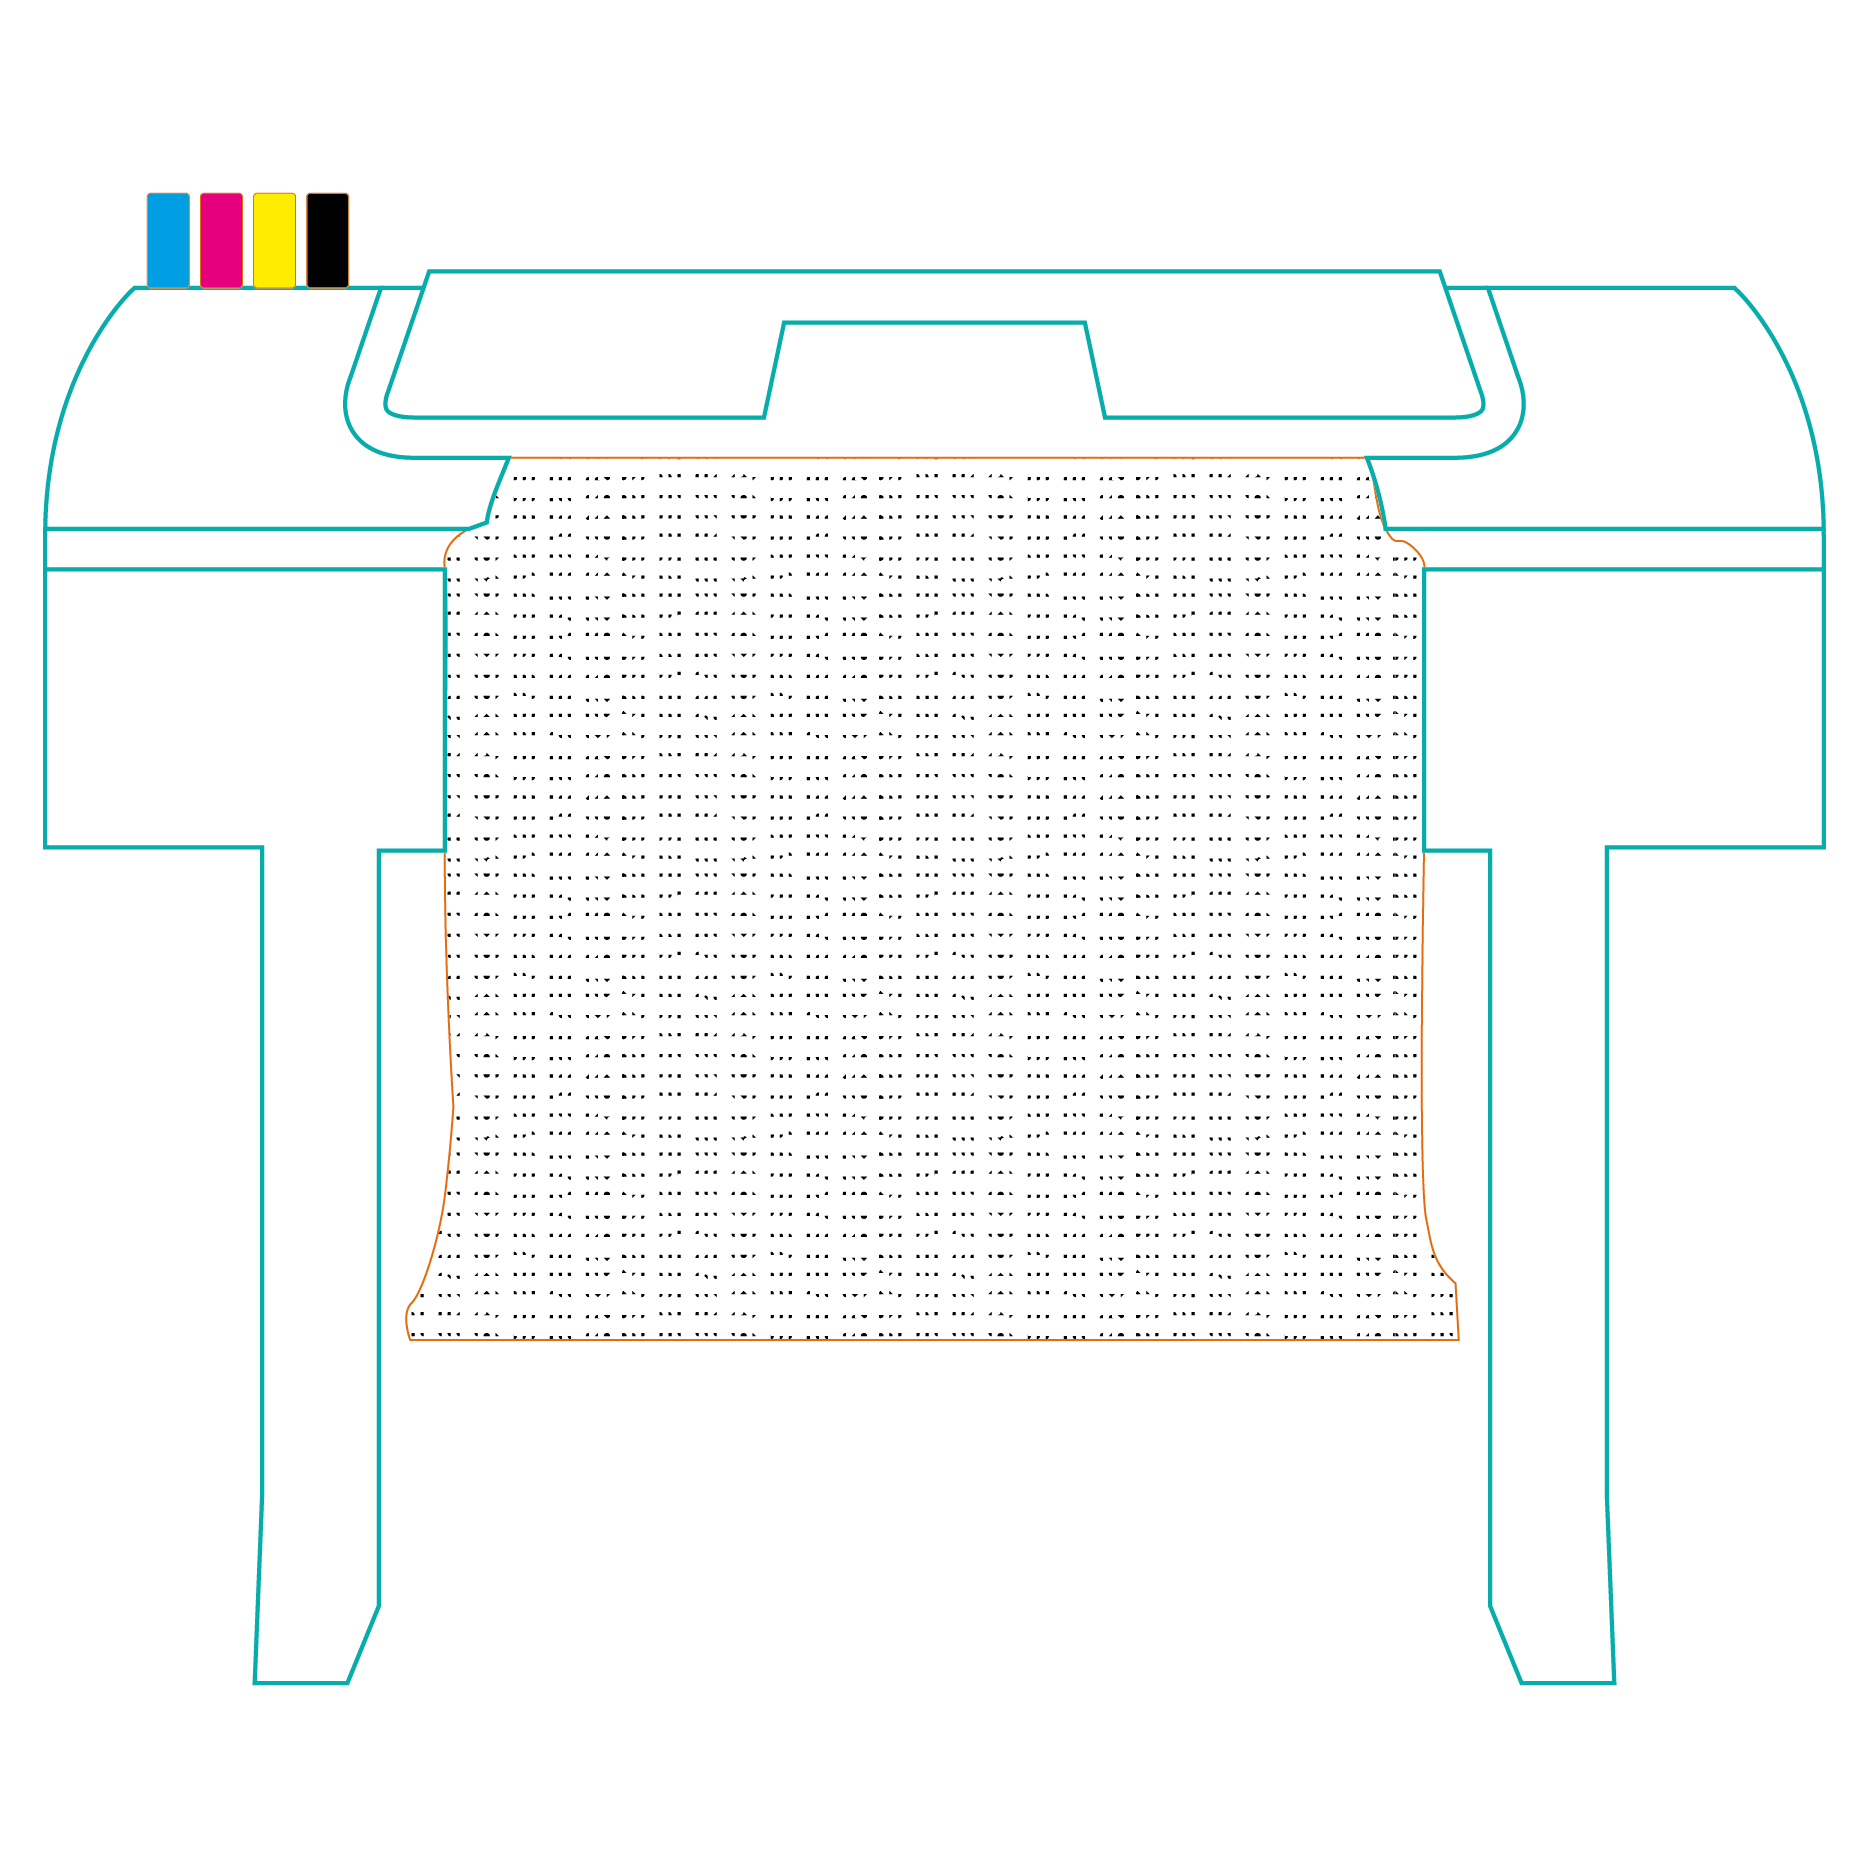
2D ROLL SCANNER

MAX SIZE: 1189 x very long

ADVANTAGES

Great for scanning longer pieces of original work.

DISADVANTAGES

Can't scan relief textured work

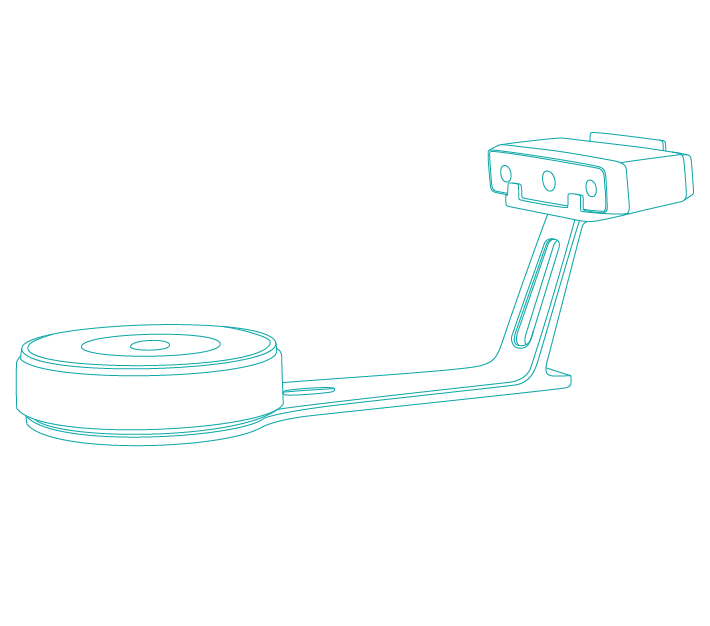
EINSCAN-SP

MAX SIZE: 200x200x200 up to 4KG

ADVANTAGES

Great scanner for small objects that fit on the turntable.

DISADVANTAGES

...

Please log in to book this equipment.

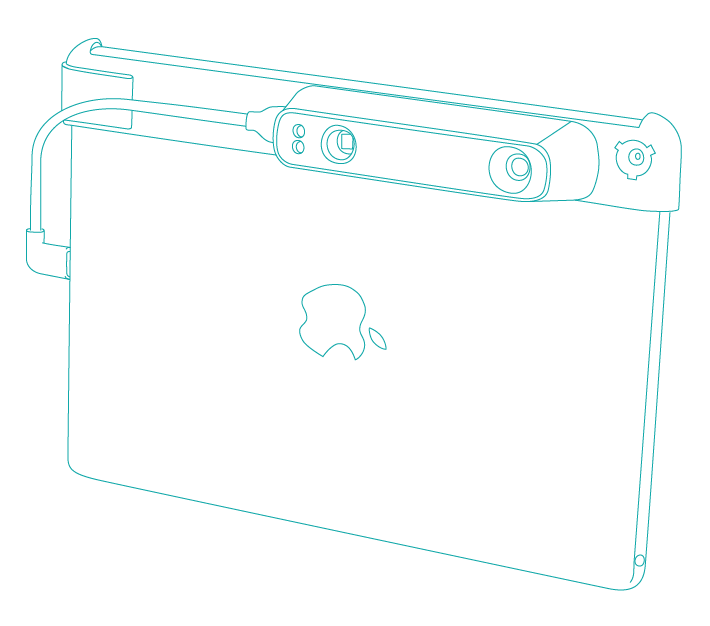
STRUCTURE SENSOR

MAX SIZE: up to a room size

ADVANTAGES

Great for scanning larger objects, humans, even a room.

DISADVANTAGES

...

Please log in to book this equipment.

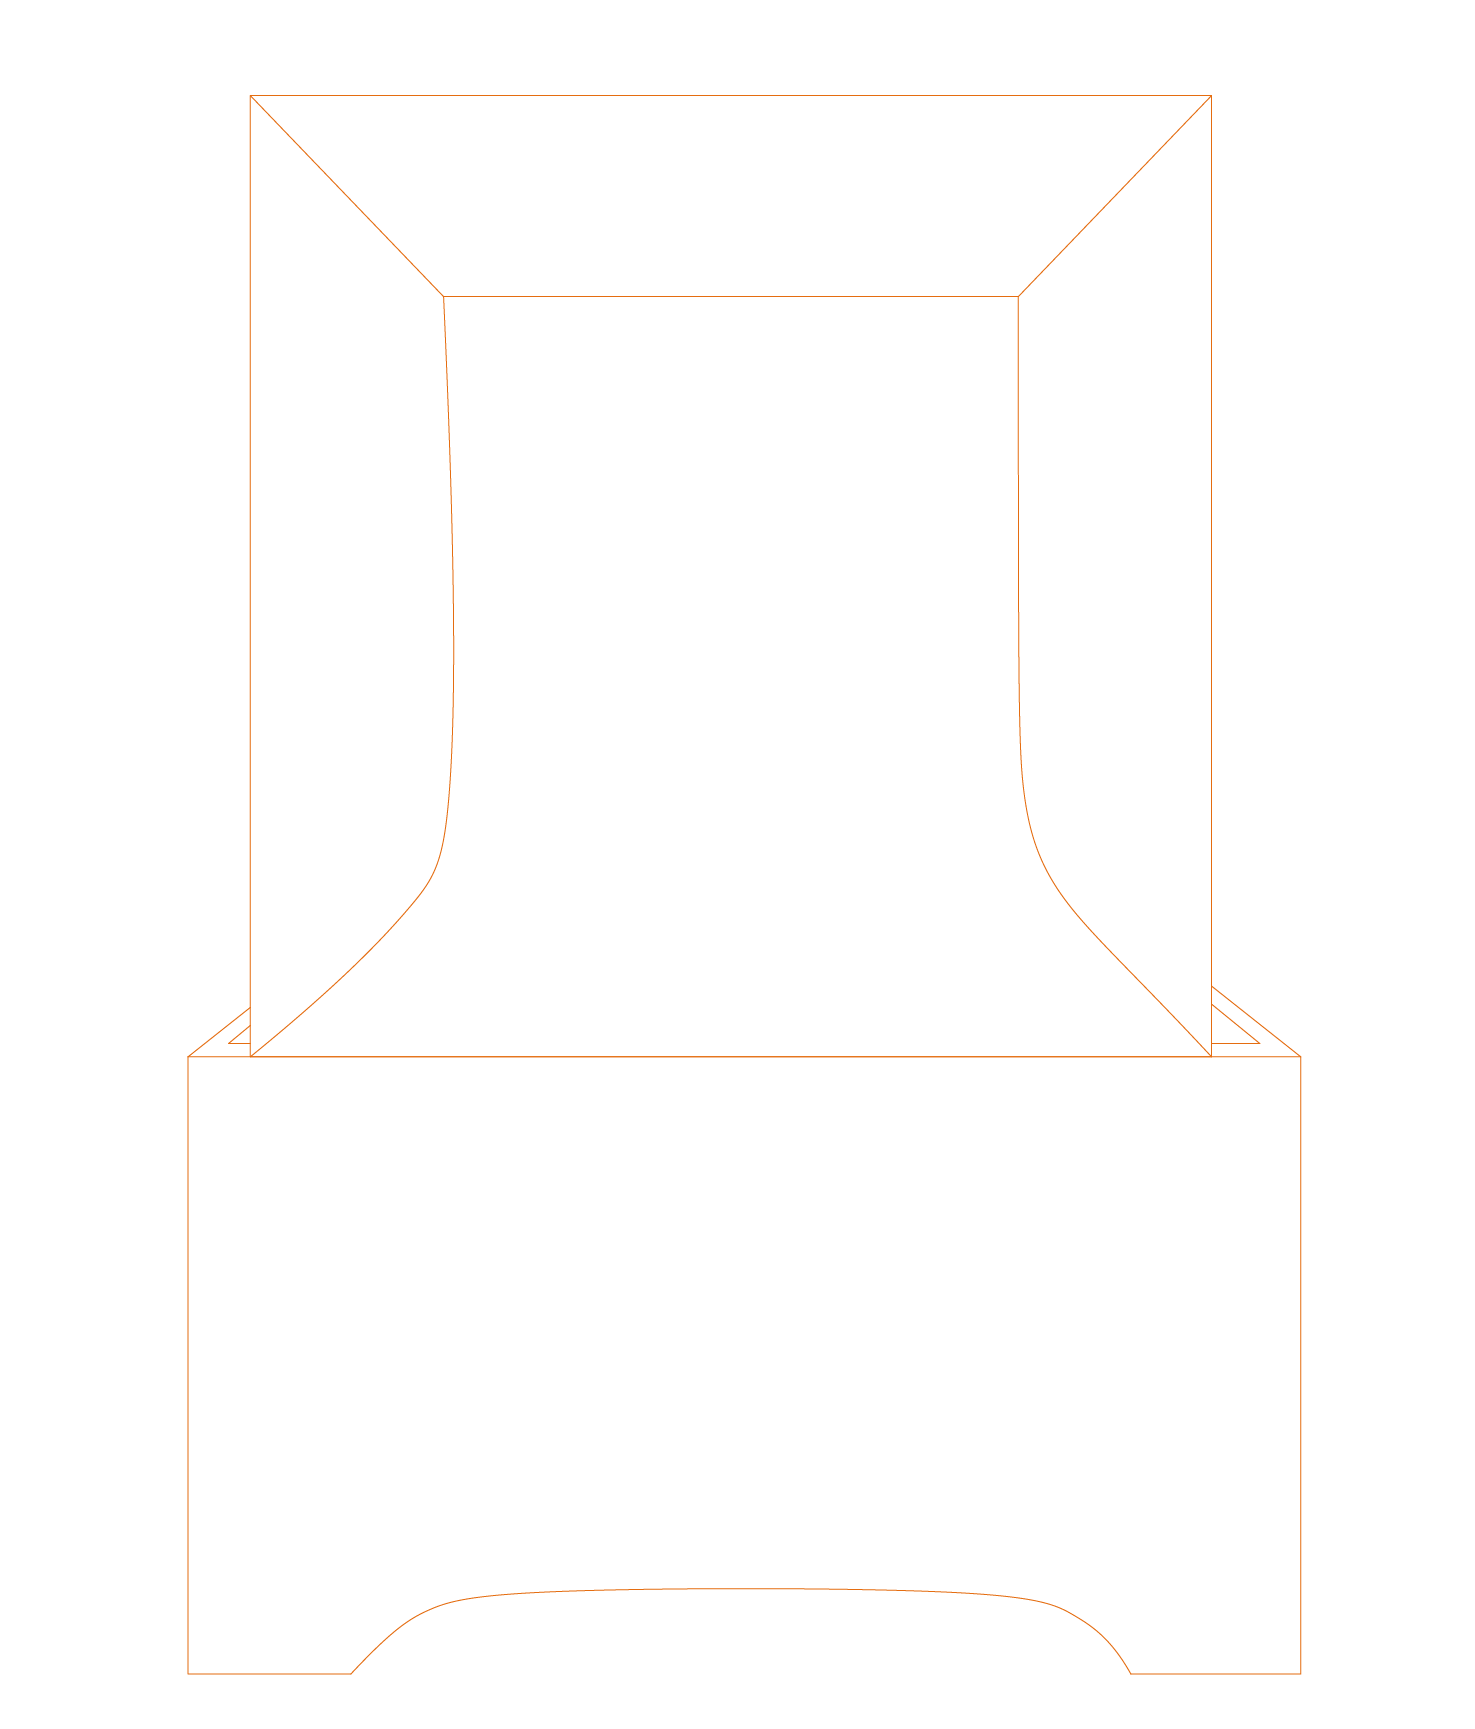
SMALL CYCLORAMA

MAX SIZE: 400 x 400 x 400

ADVANTAGES

Great for photographing small objects. The defused box on three side showers the object in soft unformed lighting.

DISADVANTAGES

Limited in size.

Please log in to book this equipment.

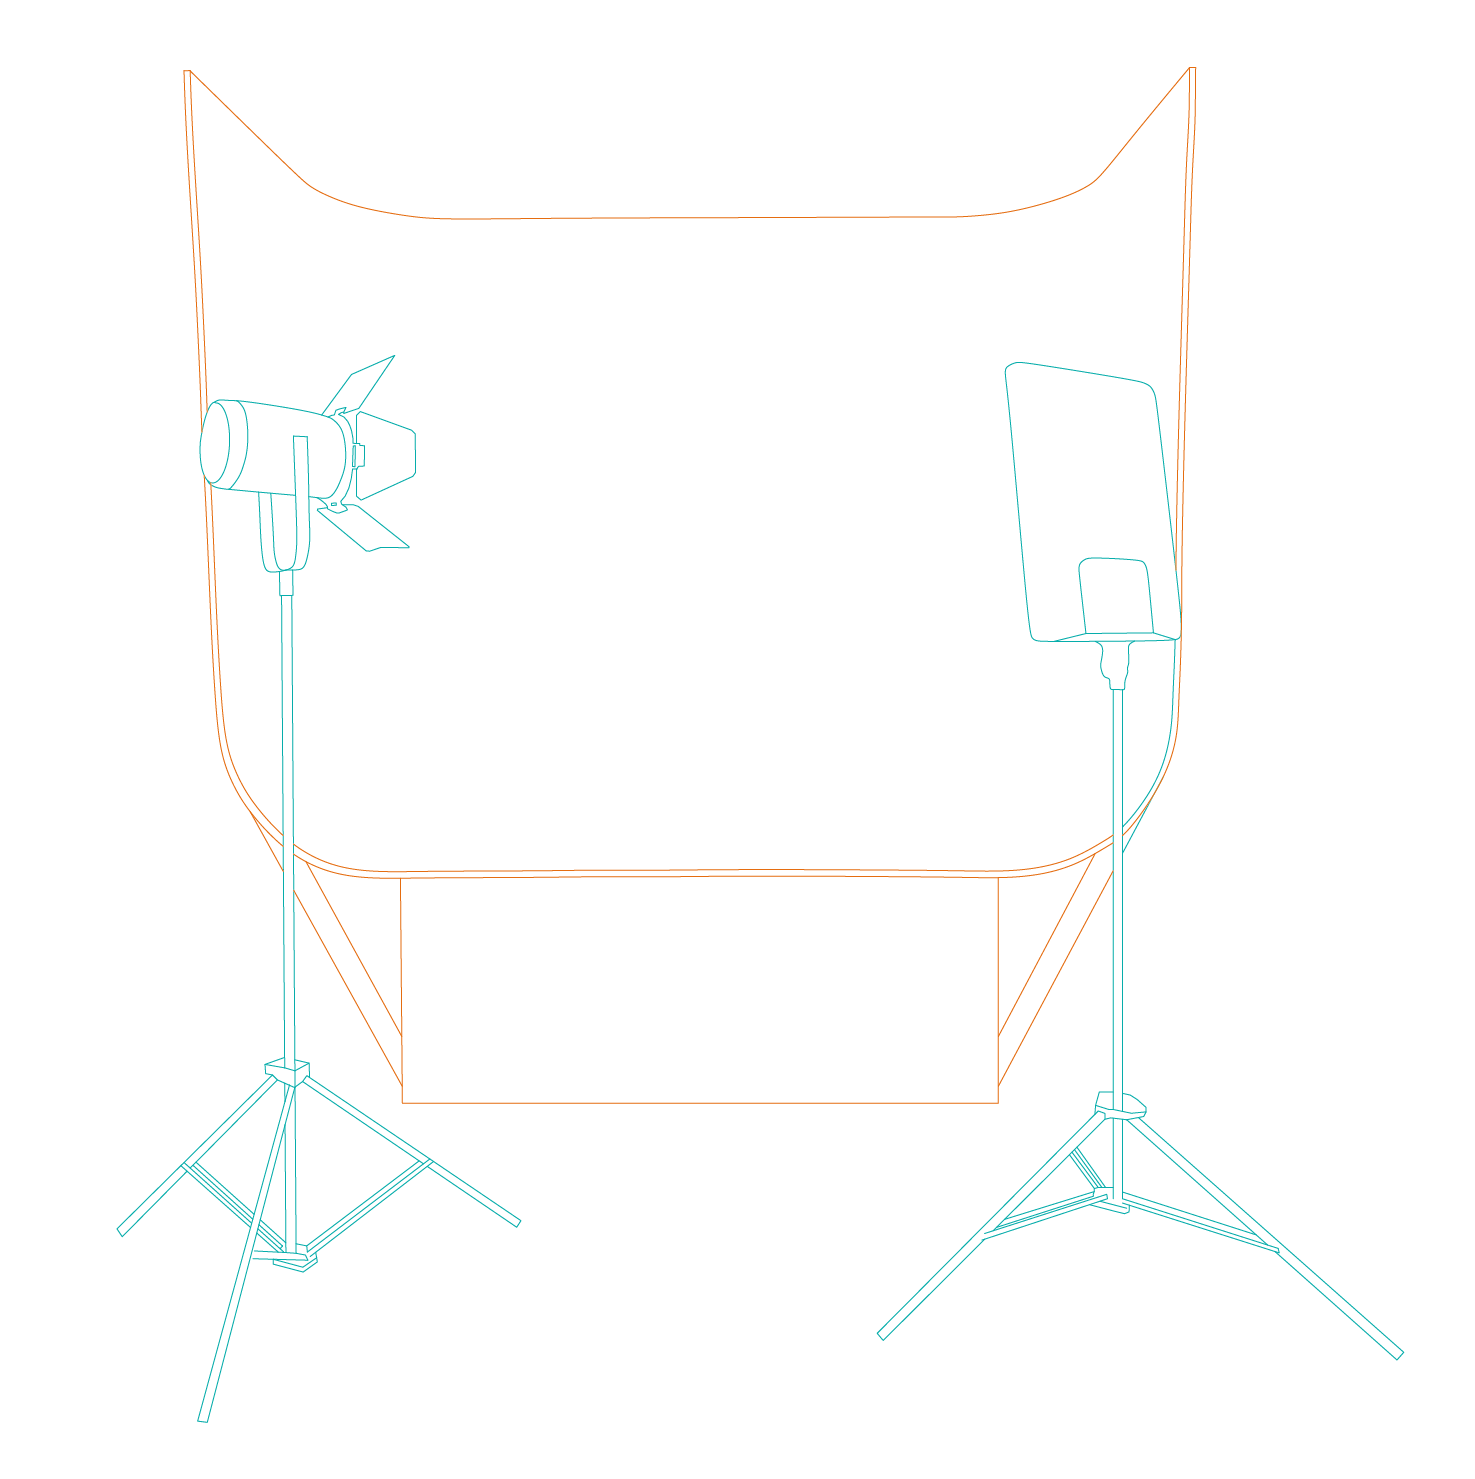
LARGECYCLORAMA

MAX SIZE: 1500 x 800 x 1500

ADVANTAGES

Great for larger models. More flexible lighting than the smaller cyclorama.

DISADVANTAGES

More skill required setting up the lighting, the base of the cyclorama is often dirty due to users standing in it (this is forbidden).

Please log in to book this equipment.

TOP