NAMES
3D PRINT ESSENTIALS
LOCATION
CAM LAB / PRINT FARM
DATE
ONGOING
DURATION ONLINE
20 min
DURATION PRACTICAL
10 min
MANDATORY REQUIREMENTS
RHINO BASICS
SOFTWARE REQUIREMENTS
RHINOCEROS 7
LEARNING OUTCOMES
HOW TO PREPARE A FILE FOR 3D PRINTING
CHALLENGE
SUGAR LUMP CHALLENGE
To print with the 3D printers in the Print Farm, you must process your .stl file through a downloadable CAM software called ‘Orca’. This is what is known as the 'slicer'. It will convert your digital object into a language the 3D printers understand, the G-code. You can also reorientate and arrange your objects for printing. However, it is always recommended you rescale in Rhino, to avoid any parts becoming too small to print correctly.
Although it can be downloaded for free we recommend using the CAM Lab as all the presets are installed. You will also need to use the CAM Lab to send the G-code to the printer.
1. Open
Open the application 'OrcaSlicer'. And Choose a 'New Project'.

2. Import
Import the .Stl file you exported from Rhino.

3. Orientate
If it is not orientated in the most efficient orientation you can re-orientate it by clicking on the face you want to sit flat to the Build Plate. If it is sitting flat on the Build Plate and it is all correct you can skip this stage.

4. settings
For the 3DP Essentials keep to the setting below.

5. slice
You are now ready to convert your digital object into the G-code the Printer can understand.

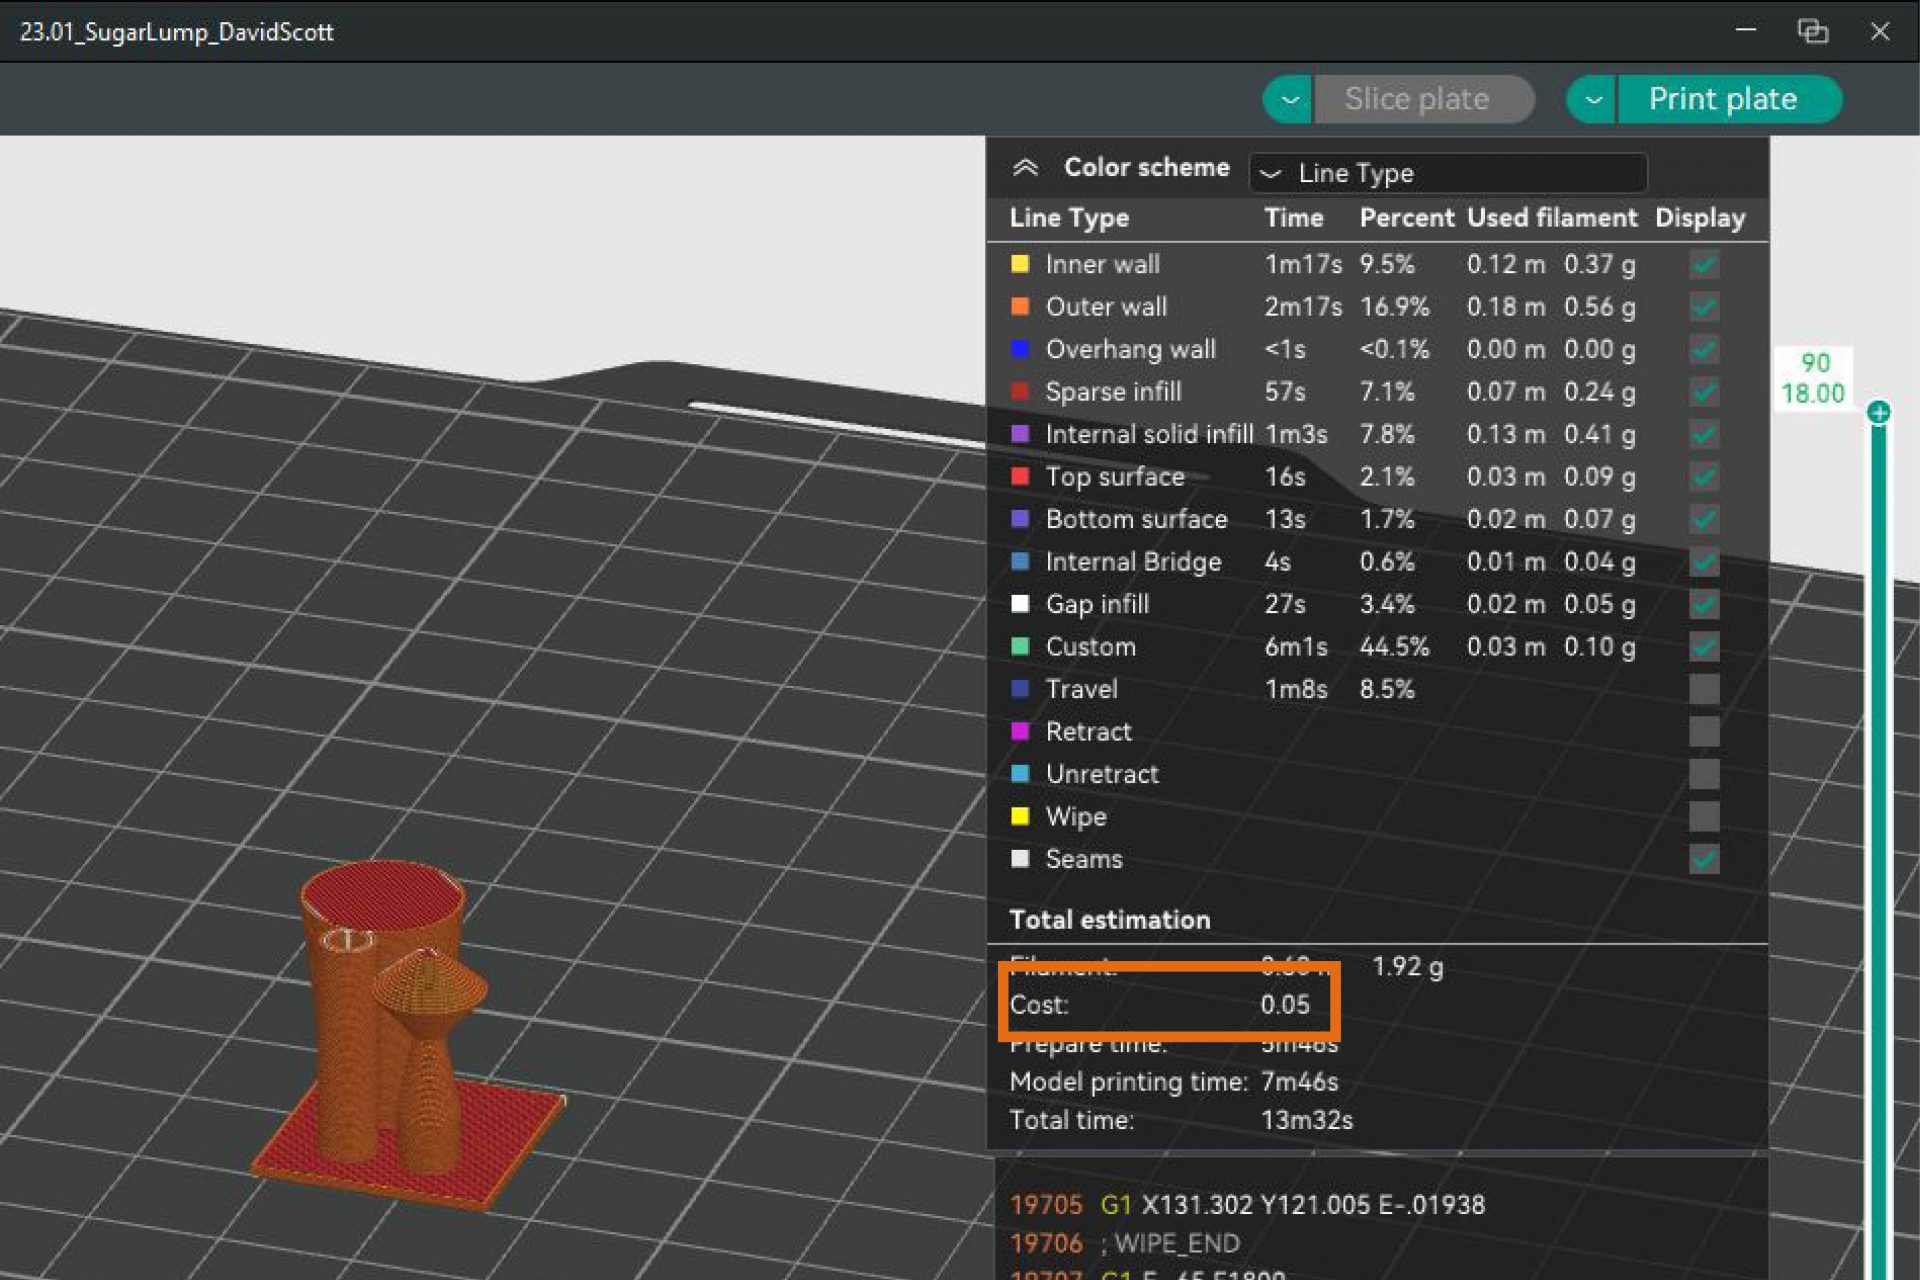
5. pay
You will need to pay before you print. Go to the Payment terminal choose '3DP Print Farm' and insert the cost that has been calculated in Orca Slicer. Print off a receipt. *
*You do not need to pay for the 3DP Essentials Sugar Lump Challenge.

5. Choose a Printer
Choose a printer that is not in use and has nothing on the Build Plate. Place your receipt in the 'I Have Paid' receipt holder on the machine you have chosen.

6. Send to the printer
Once you have selected a printer. Click on 'Print Plate' and choose the printer from the drop down.

6. Is it printing correctly?
Once you are happy that it is printing correctly. Watch it as it lays down the first 3 layers of the print. If it is printing correctly close 'Orca Slicer' and log out of the computer.

7. Success?
Once printed, remove the Sugar Lump from the printer by taking the magnetic Build Plate out and gently bending it. Do not scrape it off. Carefully replace the Build Plate making sure that it fits within the guides. Take the Sugar Lump to a member of the team, they will present you with a QR code, scan it and fill out the form. Congratulations you have completed your 3DP Essentials.


